chapter 2
sampling
In music production, “sampling” can mean a few things. In the signal-processing sense we’ve used so far, creating an audio buffer means choosing the number of channels (think speakers), the buffer's length and sample rate (often 44,100 samples per second, or 44.1 kHz) which tells us how many discrete values the buffer holds each second. In this context a "sample" is one number, between −1 to 1, that represents the signal's instantaneous amplitude (how far the speaker cone is displaced) at that moment.
Up to now we've generated audio buffers algorithmically. In this lesson, we'll create buffers by loading previously recorded sounds. When we record an analog sound and digitize it, we're again creating an audio buffer, this time by sampling the continuous waveform into tiny snapshots (those −1 to 1 values), each capturing the amplitude at a specific instant. Once digitized this data is usually store in audio files like .wav and .mp3. The Web Audio API provides a method called decodeAudioData for decoding the data stored in these sorts of files and creating audio buffers from them.
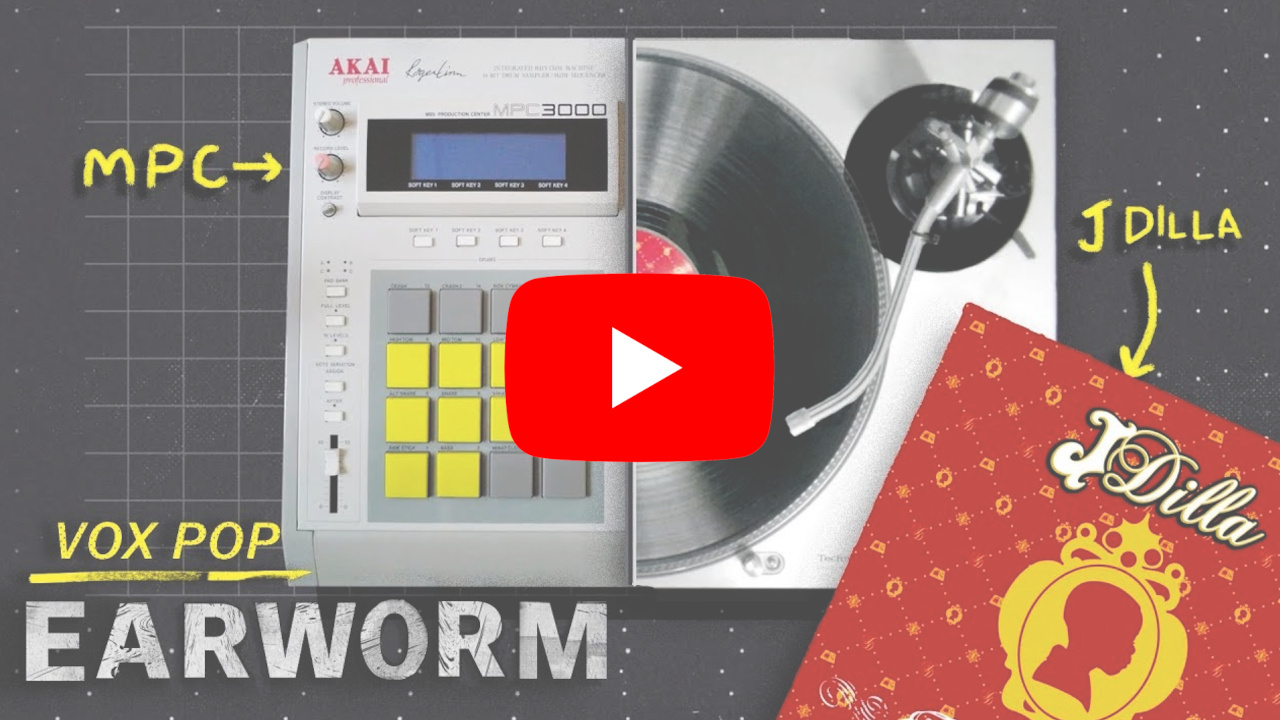
The audio file we’re using above is extracted from a longer song called "the Funky Drummer" by James Brown, a little over 5 mins into the track all the musicians stop playing except for the drummer Clyde Stubblefield. This is a called a "drum break" (aka "break beat" or "break"), funk and soul songs often have moments like this, where only the drummer plays for a measure or two. These moments are perfect for "sampling" and remixing into new tracks. In the broader, creative sense, sampling usually means taking a portion of an existing recording, like a drum break, melody, or vocal phrase and reusing it in a new work, often reshaping it with slicing, editing, looping, pitch shifts/time-stretching and adding effects so it functions as fresh material in a different musical context. This particular breaks is one of the most heavily sampled in music history, you can learn more about the Funky Drummer here.
We can also load an audio file into our code using Tone.js which requires far less code because it's a "higher-level" library. Even though we'll be using Tone.js for the rest of these examples, it's important to remember, that everything we do with Tone.js we can do directly with the Web Audio API if we need or want to, because Tone.js is built on top of the Web Audio API, which means it useses it's methods (like decodeAudioData) behind the scenes.
The drum samples from example 3 above come from a Tone.js repo containing audio files they use in many of their examples. You can use the box below to explore the different drum samples in the collection as well as copy/paste code snippets for creating your own Tone.Player() from any specific file path or Tone.Players() (plural) using each drum kit's corresponding object. This can be a quick/easy way to get started experimenting, but I also highly recommend you search large open source sound repositories, like freesound.org or Wiki Media, for interesting sounds (or even YouTube via sites like this one).
We're on our way to creating a web based instrument, something like a drum "sound board", a sort of "drum machine" without the sequencer (we'll learn how to make that part later). But loading individual files from a sample pack (like the ones above) isn't the only way to create an instrument with individual drum sounds. Sometimes it can be funner and more interesting to take a single audio clip and cut it up into smaller samples. Rather than using synthetic drum sounds to create beats, musicians across many genres have been taking drum breaks (like the Funky Drummer), chopping them up into smaller pieces and re-arranging them to create new beats. One of the most iconic and heavly chopped up breaks in music history comes from a six-second drum solo in the song “Amen, Brother,” the 1969 B-side by The Winstons, performed by drummer Gregory Coleman.

an audio documentary on the "Amen Break"
The tool below has the "Amen Break" pre-loaded, if you click and drag over a portion of the audio waveform you want to "sample" the tool will select that area and display the duration of the selected sample as well as the offset (amount of seonds from the start of the file) below the waveform. Press "Play" to hear the sample, or if you want to load a different audio file, press the "Browse" button to load one from your computer. If you don't have any you can download the Funky Drummer break here to test with.
Once you've clicked-and-dragged your mouse over a section of the sample above and have a selection you like, copy the { offset, duration } object it generates and paste it into the array in the example below. Take note of the playSample() function, it takes an index value and uses that to select the corresponding object from the "cuts" array, it then starts the player immediately (ie. now) but instead of playing back the clip from the beginning, it starts from the offset value off and instead of playing the rest of the clip all the way through, it only plays for the specified duration dur. We trigger the playback of this sample using our keybaord, make sure to map they key you want to the sample (based on it's index) you want in the 'keydown' event listener block at the end of the sketch.
We don't need to limit ourselves to drum breaks. While breaks, like Funky Drummer and the Amen Break, play a very important role in the history of sampling, artists have made new music from sampling from songs, often times changing the playback rate (the speed at which the buffer is played) as a way to change the key of the song which ads another layer of transformation. In the example below I've cut up pieces from the song More Spell On You by Eddie Johns and slowed it down to a 90% of the original .playbackRate much the same way the duo Daft Punk did to create their song One More Time
There's so much more experimenting we do with the .playbackRate, we can also set the player's .reverse propert to ture/false to reverse the playback direction. Adjusting the playback speed and direction is essentially what the original Hip Hop DJs would do to their "scratch" their samples on a turntable (rub the record back and fourth as it was playing), which means we could simulate scratching on our trackpad. I share that as an example, but remember we don't want to recreate existing instruments in this class, we want to use the programability of these features to create instruments that wouldn't have been possible before.
Patatap app by Lullatone and Jono
In this class our focus is on creating sound, so the most important thing to experiment with during this week's meditation is turning your laptop into an instrument for slicing and time-stretching samples. That said, if you'd like to challenge yourself to add some visuals and try to make something similar to the Patatap there are some examples in the site's editor section for doing that, check out the different examples in visuals (basic) section as well as the visuals (analysis) for audio responsive examples.
Attribution: Text and code written by Nick Briz. The code editor icons designed by Meko and licensed under Creative Commons Attribution License (CC BY 3.0). All sounds generated using the Web Audio API and/or Tone.js by Yotam Mann and other contributors.